Step 1: Access Site Settings
-
From the Homepage, click the gear icon in the navigation bar (top-right corner).
-
Select Sites from the left-hand menu.
Step 2: Locate the Site
-
Click on the desired site from the list.
-
To quickly find a specific site:
-
Use the search bar to enter the site name.
-
Use the Client and State filters to narrow your results.
-

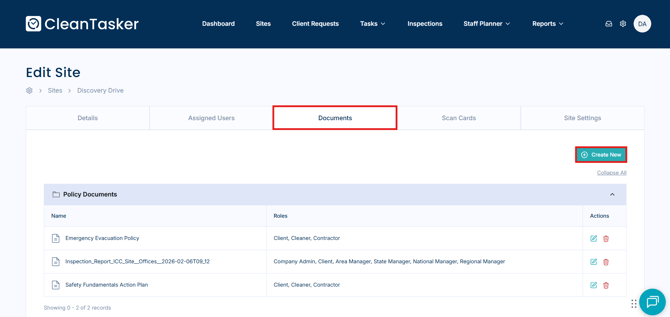
Step 3: Attach a Document
-
Click the Documents tab on the site page.
-
Click Create New.
-
Complete the required fields:
-
Document Name – Enter a clear, descriptive title.
-
Category – Select the appropriate document category.
-
Access Roles – Choose which roles can view and access the document.
-
Attach Files – Upload the file(s) you want linked to the site.
-
-
Click Save to attach the document to the site.
You can manage document access at any time. If you need to adjust role permissions, see how to edit access to site documents for detailed instructions.